Managing Storage Spaces
Creating Storage Spaces
-
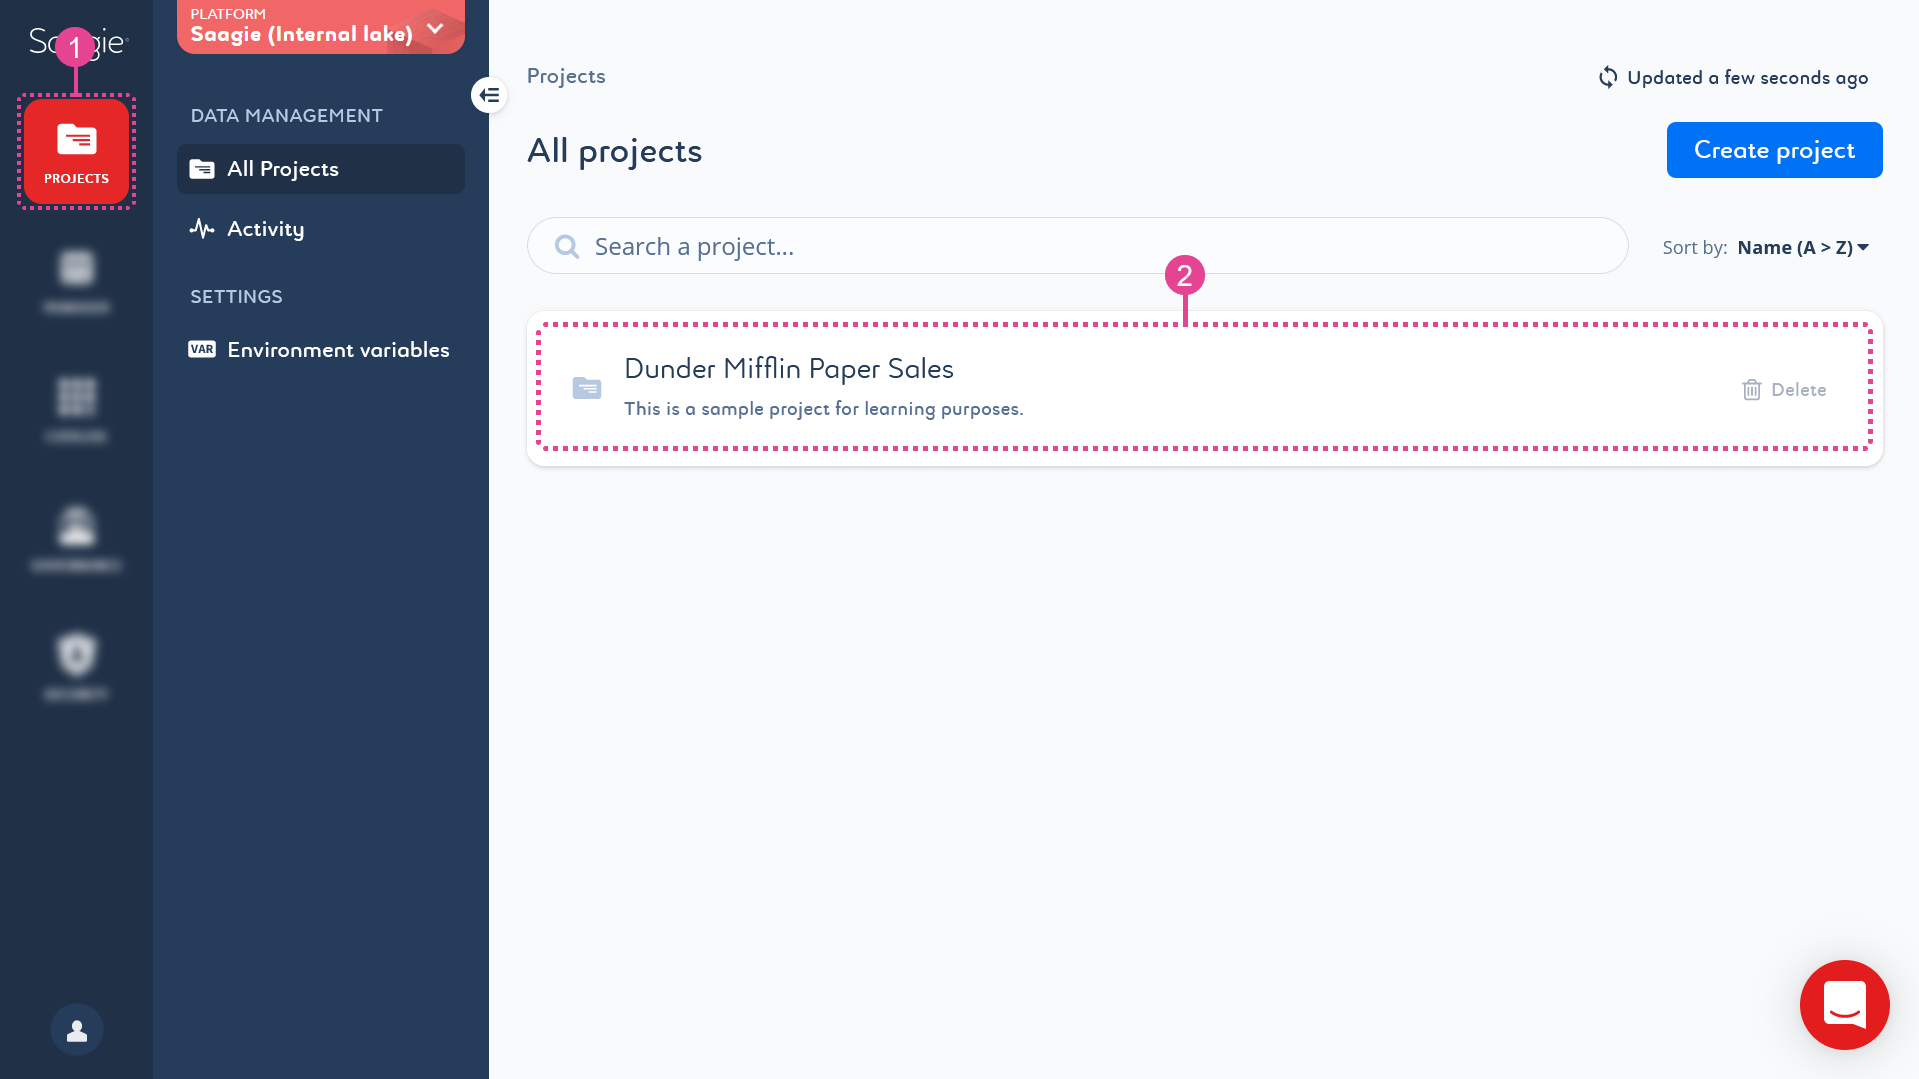
Click
Projects from the primary navigation menu.
By default, theAll Projects page opens with the list of existing projects.
-
Click a project in the list to open it.
By default, theJobs page opens with the list of existing jobs.

-
Click
Storage from the secondary navigation menu to open the library of the project’s storage spaces.
-
Click Create storage to create a new storage space.
A panel opens that you can edit.You can also create new storage spaces on the fly when you upgrade your app. -
Enter the required information.
-
Click Save to confirm the creation.
The created storage space appears in the list on your projectStorage page.
A storage space linked to an app will also be listed on your appStorage page. Only the storage spaces linked to the selected app are displayed on this page.
Deleting a Storage Space
-
Click the kebab menu at the end of the corresponding storage space row.
A confirmation message appears. -
Click Delete again to confirm the deletion.
Be careful, there is no progress bar to cancel the deletion once it is confirmed.
You cannot delete a storage space used by an app or linked to the Current |
Modifying Storage Space Settings
-
Click
Projects from the primary navigation menu.
By default, theAll Projects page opens with the list of existing projects.
-
Click a project in the list to open it.
By default, theJobs page opens with the list of existing jobs.

-
Click
Storage from the secondary navigation menu to open the library of the project’s storage spaces.
You can also modify the storage spaces linked to an app from the Storage page of the corresponding app:
.
-
Click either:
-
The storage space you want to change in the list.
-
Edit from the kebab menu
at the end of the corresponding storage space row.
A panel opens that you can edit.
-
-
Change the information as needed.
You can expand the capacity of your storage space, but you cannot reduce it afterwards. The size of your storage space is defined by your administrator when installing Saagie. If you reach your cluster’s storage limit, contact the SRE team to increase the total storage capacity available on your cluster.
For storage expansion to work, your administrator must have added the
allowVolumeExpansion : trueoption to thestorage.ymlfile created when configuring your cluster(s). For more information, see Creating Storage Classes for Your Saagie Platform for EKS, AKS, GKE, and other service platforms. -
Click Save to save your changes.
You will see a message saying that your storage space has been successfully upgraded. If you have changed the size of a storage space linked to an app, this may cause the app to restart automatically to take your changes into account. If an error occurred, your app will keep running.
Duplicating Storage Spaces
-
Click
Projects from the primary navigation menu.
By default, theAll Projects page opens with the list of existing projects.
-
Click a project in the list to open it.
By default, theJobs page opens with the list of existing jobs.

-
Click
Storage from the secondary navigation menu to open the library of the project’s storage spaces.
You can also duplicate the storage spaces linked to an app from the Storage page of the corresponding app:
.
-
Click the kebab menu at the end of the relevant storage space row.
-
You cannot select multiple storage spaces at the same time and duplicate them.
-
You cannot duplicate a storage space linked to a running app. Stop the app and try again.
-
You cannot act on a storage space that is being duplicated. Wait for the end of the process to resume management of your storage space.
-
If the duplication fails, the duplicated storage space is still created but with a
Failedstatus. This copy is not viable and can be deleted.
You are returned to the project or app
Storage page with a message saying that your storage space has been successfully duplicated.
The name of your duplicated storage space will be
<original storage space name> (ID starting by X). WhereXis an incremental number by 1.For example, you duplicate the storage space
Albany Branch Sales. The name of the duplicated storage space will beAlbany Branch Sales (1). If you duplicate the storage spaceAlbany Branch Salesa second time, the name of this second duplicated storage space will beAlbany Branch Sales (2), and so on. If the duplicated storage space name exceeds the 255-character limit, we truncate the last 13 characters. The incremental number is kept. -
Unlinking Storage Spaces
-
Click
Projects from the primary navigation menu.
By default, theAll Projects page opens with the list of existing projects.
-
Click a project in the list to open it.
By default, theJobs page opens with the list of existing jobs.

-
Click
Storage from the secondary navigation menu to open the library of the project’s storage spaces.
You can also unlink an app’s storage space from its Storage page:
.
-
Click the kebab menu at the end of the relevant storage space row.
You cannot unlink a storage space attached to a version of an app that is in use and displays the
Current status.
A pop-up window opens.
-
Click Unlink to confirm disassociation.
You will see a message saying that your storage space has been successfully unlinked from your app.
Moving a Storage Space to Another Project
-
Click
Projects from the primary navigation menu.
By default, theAll Projects page opens with the list of existing projects.
-
Click a project in the list to open it.
By default, theJobs page opens with the list of existing jobs.

-
Click
Storage from the secondary navigation menu to open the library of the project’s storage spaces.
-
Click the kebab menu at the end of the relevant storage space row.
-
You cannot act on a storage space that is being moved. Wait for the end of the process to resume management of your storage space.
-
You cannot move a storage space linked to an app. Unlink it from the app. Then, try again.
-
If the move fails, the source storage space is kept in the project. A copy of the storage space is made in the target project but with a
Failedstatus. This copy is not viable and can be deleted.
A pop-up window opens.
-
-
Select the target platform and target project from the list.
-
Click Move to confirm the move.
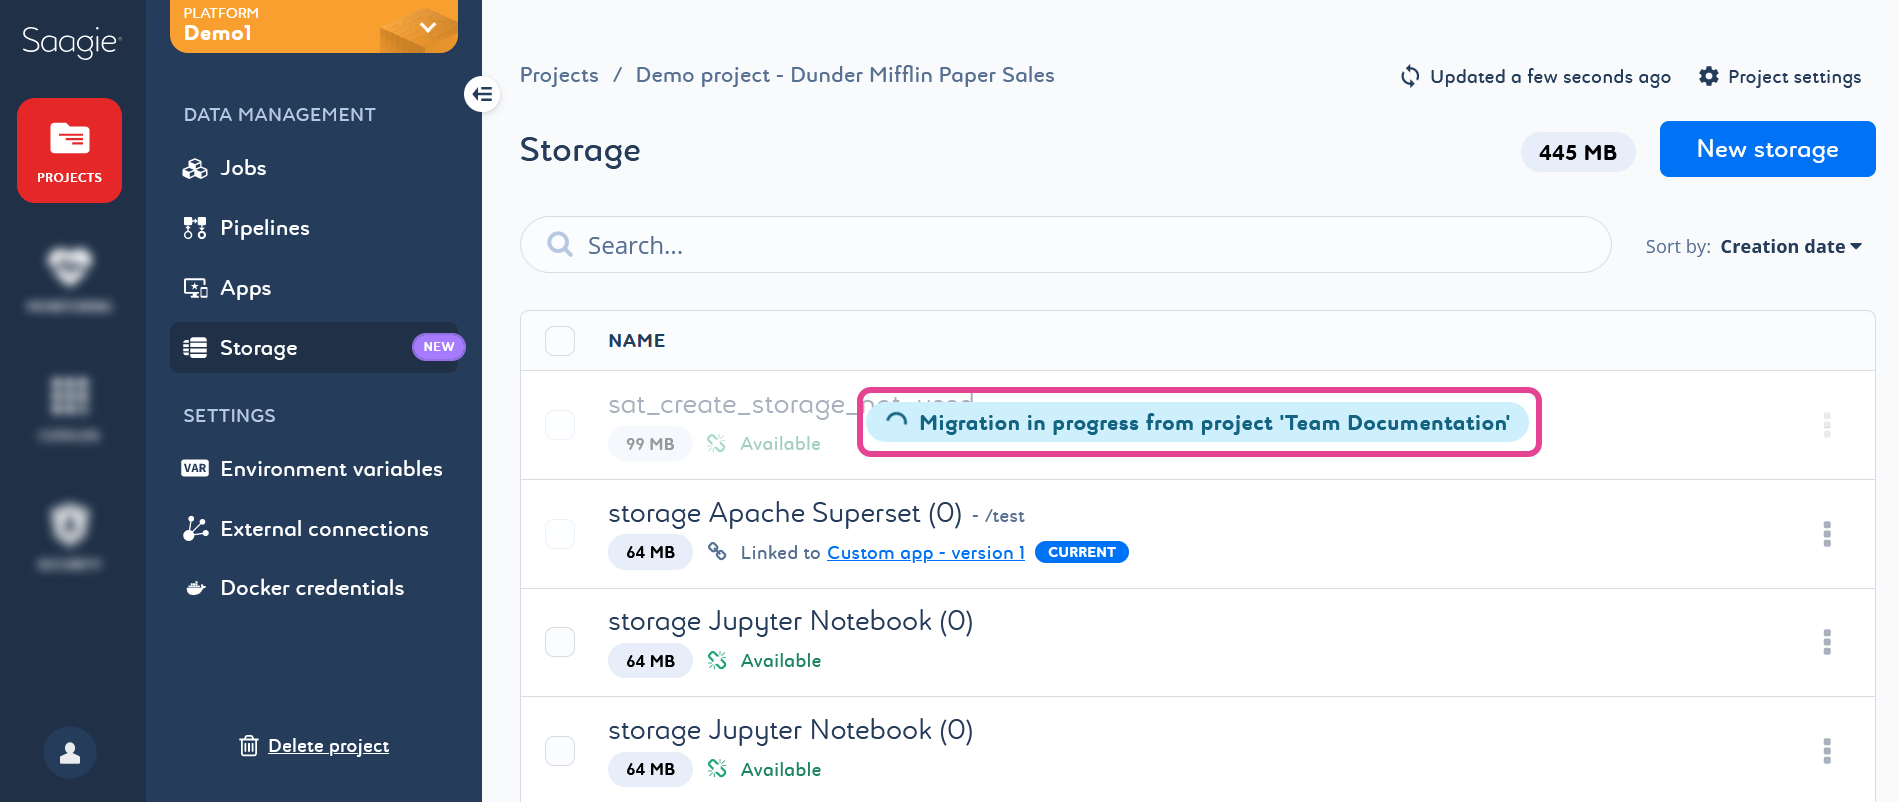
You will see a message saying that your storage space has been successfully moved. You can click Go to target project below the success message to be redirected to the library of the project’s storage spaces.If you click Go to target project, you may need to manually refresh the page to remove the progress banner. You can click
Updated a few second ago in the top right-hand corner of to refresh the page.
