Connecting to Saagie Using SSO For the First Time
The SSO option must have been enabled by your administrator during the configuration of the Saagie installer, saagiectl. For more information, see Enabling Single Sign-On (SSO) Authentication.
Also, a little needs to get explained. Once the SSO system has been set up, you will have to log in once to create your Saagie account. In fact, your account will not exist until you log in for the first time, even if you already had a Saagie account before. Once connected, your new user account is automatically created. However, you have no rights and cannot do anything. Your administrator will receive an e-mail informing them that you have logged in and that they must grant you the needed access rights to the Saagie platform(s). Contact them to discuss your needs.
-
Log in to your identity provider.
-
Use the following URL pattern to access your Saagie platform:
https://prefix-suffix.subdomain.domain.
You should be automatically redirected to your Saagie platform without going through the Saagie login page.If you are not connected to your identity provider, you will be redirected to its login page. Enter your credentials. This will log you in to Saagie, and you will be redirected to your platform.
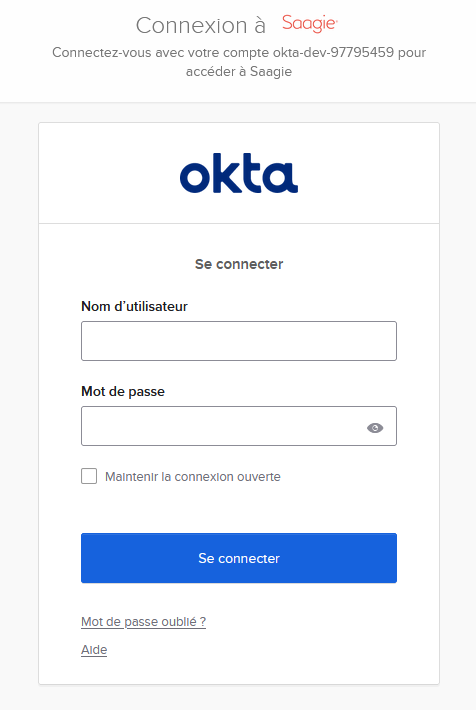 Figure 1. Example of an identity provider login page
If you have registered your Saagie platform shortcut with the URL pattern
https://prefix-suffix.subdomain.domain/login, you will be redirected to the Saagie login page. Click Single Sign-On (a). If you are already logged in to your identity provider, you will be redirected to your platform. If not, you will be redirected to its login page, as explained above.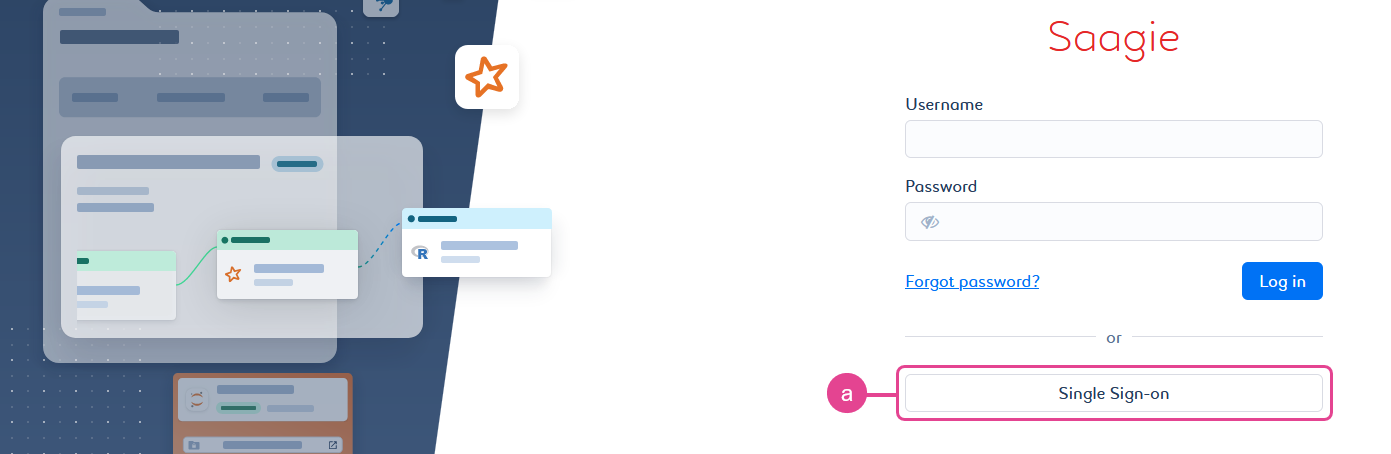 Figure 2. Saagie login page (with SSO option enabled)
 -
Contact your administrator to discuss the access rights you need.